Running a website on a Raspberry Pi is both rewarding and educational, especially when you’re doing it as a hobby like I am. I’m not a professional developer or system administrator, just someone who enjoys tinkering with technology in my spare time. But that comes with its own set of challenges! One of those challenges? There’s no convenient “upgrade” button when you need to update your PHP version. Today, I’ll walk you through how I upgraded my Raspberry Pi web server from PHP 8.2 to PHP 8.3 using terminal commands.
Why Upgrade to PHP 8.3?
PHP 8.3 brings several improvements including:
- Better performance optimizations
- New features like typed class constants
- Enhanced error handling
- Security improvements
- Bug fixes from the 8.2 branch
Since my Raspberry Pi hosts this website as my personal hobby project, staying current with PHP versions is important for both security and performance. Plus, I enjoy learning about these upgrades!
The Reality: No GUI, Just Terminal
Unlike shared hosting providers with their shiny control panels, managing a Raspberry Pi web server means getting comfortable with the command line. There’s no upgrade button to click; everything happens through SSH and terminal commands. As a hobbyist, this was initially intimidating, but it’s become one of my favorite aspects of self-hosting!
Prerequisites
Before starting, make sure you have:
- SSH access to your Raspberry Pi
- Root or sudo privileges
- A backup of your website (always backup before major changes!!!)
- Basic familiarity with terminal commands
Step 1: Check Your Current PHP Version
First, let’s confirm what version we’re running:
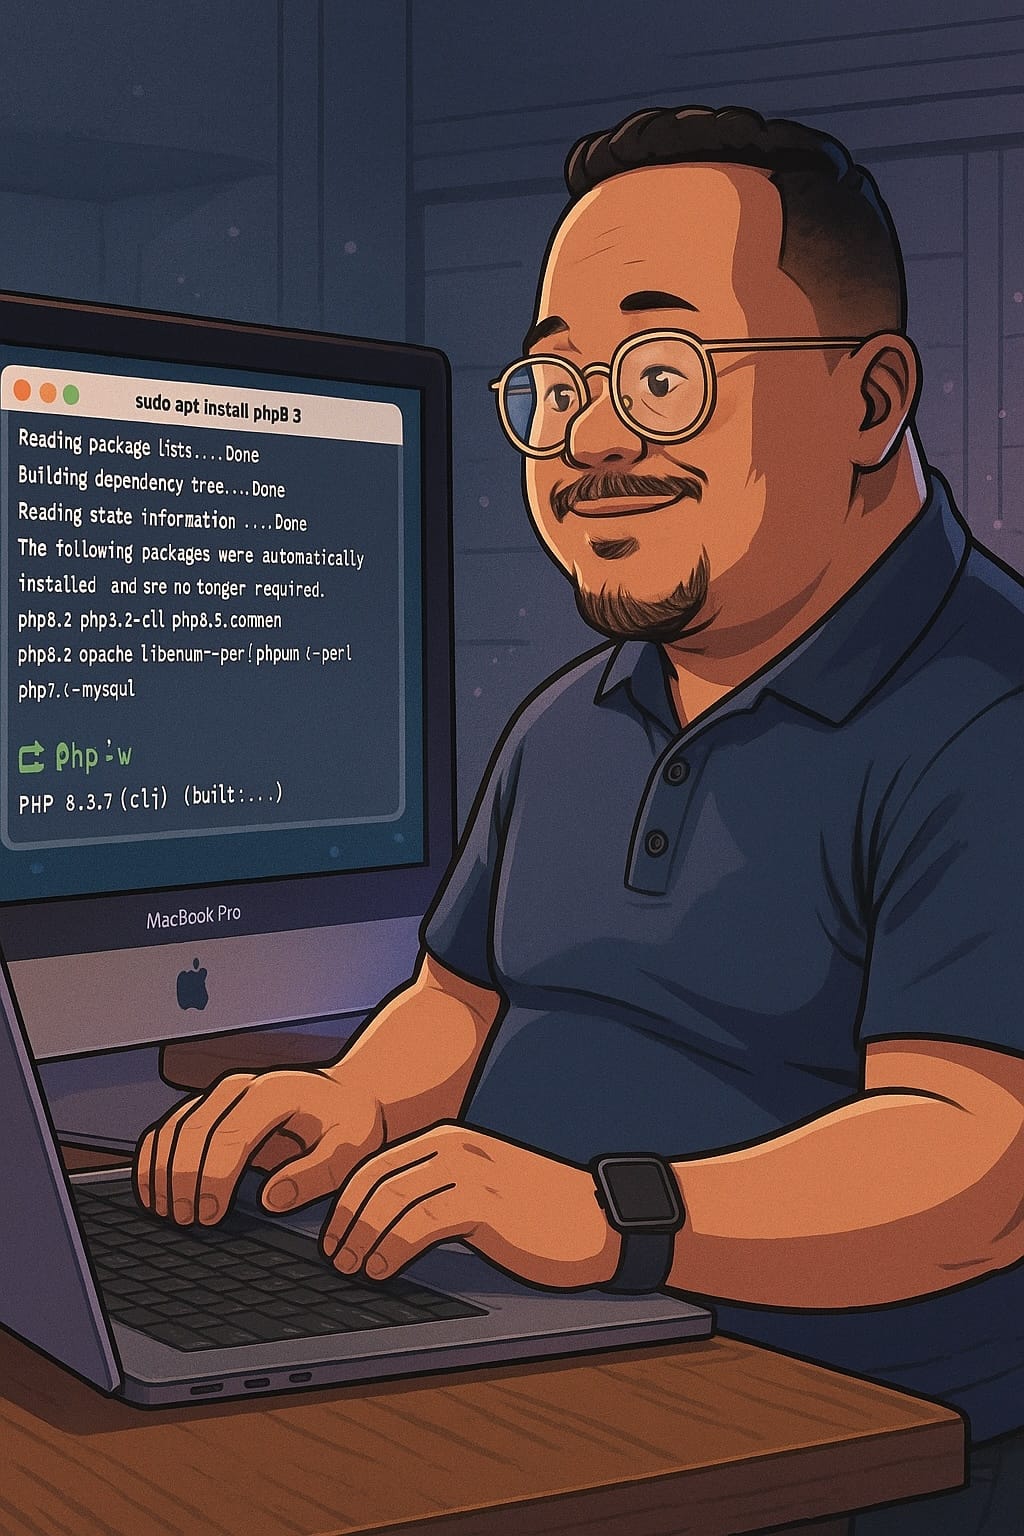
php -v
This should show PHP 8.2.x along with build information.
Step 2: Install Required Packages for Adding Third-Party Repositories
We need to install some packages that will help us add external repositories:
sudo apt update

sudo apt install -y lsb-release ca-certificates apt-transport-https software-properties-common gnupg curl
Step 3: Add the Sury PHP Repository
Raspberry Pi OS might not have PHP 8.3 in its default repositories yet, so we’ll add the Sury repository, which is the go-to source for updated PHP packages:
curl -fsSL https://packages.sury.org/php/apt.gpg | sudo gpg --dearmor -o /etc/apt/trusted.gpg.d/php.gpg

echo "deb https://packages.sury.org/php/ $(lsb_release -sc) main" | sudo tee /etc/apt/sources.list.d/php.list

sudo apt update
Step 4: Install PHP 8.3 and Required Modules
Now we can install PHP 8.3 with the Apache module and common extensions:
sudo apt install -y php8.3 libapache2-mod-php8.3 php8.3-cli php8.3-common php8.3-curl php8.3-gd php8.3-mbstring php8.3-xml php8.3-zip
These modules cover most web application needs:
libapache2-mod-php8.3for Apache integrationphp8.3-gdfor image processingphp8.3-curlfor HTTP requestsphp8.3-mbstringfor string handlingphp8.3-xmlfor XML processingphp8.3-zipfor archive handling
Step 5: Disable the Old PHP Version (Optional)
If PHP 8.2 was previously active in Apache, disable it:
sudo a2dismod php8.2
Don’t worry if this command errors out, it just means PHP 8.2 wasn’t actively configured in Apache.
Step 6: Enable PHP 8.3 in Apache
Now enable the new PHP version and restart Apache:
sudo a2enmod php8.3

sudo systemctl restart apache2
Step 7: Confirm PHP is Upgraded
Check that everything is working:
php -v
You should see output similar to: PHP 8.3.x (cli) (built: ...)
Also test your website in a browser to ensure it’s loading correctly with the new PHP version.
Step 8: Update PHP Configuration (Optional)
Your old php.ini settings are in /etc/php/8.2/. You might want to copy relevant settings to the new version:
sudo cp /etc/php/8.2/apache2/php.ini /etc/php/8.3/apache2/php.ini.backup

# Then manually edit /etc/php/8.3/apache2/php.ini as needed
Remember to restart Apache after any configuration changes:
sudo systemctl restart apache2
Troubleshooting Common Issues
Website shows errors after upgrade:
- Check PHP error logs:
sudo tail -f /var/log/apache2/error.log - Ensure all required PHP extensions are installed
- Verify file permissions haven’t changed
Performance issues:
- Consider updating your PHP configuration for better memory limits
- Check that OPcache is enabled in the new version
Cleaning Up (Optional)
Once you’re confident PHP 8.3 is working correctly, you can remove the old version:
sudo apt remove php8.2*

sudo apt autoremove
Final Thoughts
Upgrading PHP on a Raspberry Pi requires patience and terminal comfort, but it’s a valuable skill for anyone self-hosting as a hobby. The process reinforces why having backups is crucial and why understanding your server setup matters, lessons I’ve learned the hard way.
The lack of a simple upgrade button might seem daunting at first, but it gives you complete control over your server environment. Plus, you learn exactly what’s happening under the hood. Knowledge that proves invaluable when troubleshooting issues down the road.
My website is now running smoothly on PHP 8.3. The upgrade was well worth the effort, and now I’m better prepared for future PHP updates. Each time I do something like this, I feel more confident in my hobby server management skills 🙂
Running into issues with your PHP upgrade? Feel free to reach out in the comments below. As a fellow hobbyist, I’m happy to help other Raspberry Pi web server enthusiasts! We’re all learning together.

Leave a Reply